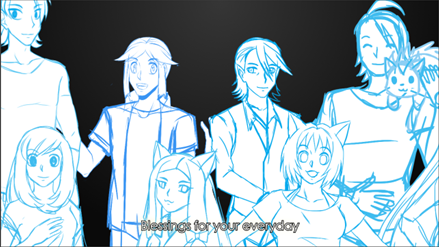
Blessing
A video made for my sister's 23 birthday. Created from June-July 2016
Project Details
- Role: producer, illustrator, animator, post-production
- Teammates: none
- Client: personal project
- Software: After Effects CS6, Photoshop CS6, Paint Tool SAI, Microsoft Excel
- Timeline: 2 months
Prompt
For my sister's upcoming 23rd birthday, I was tasked to make a music video as her gift. For her past two birthdays, I created videos with a set of characters both she and I designed, but the videos appeared flat as the only animation present consisted of images sliding across the screen. This video was created with two learning goals in mind: 3D layers and camerawork and particle effects in After Effects.
Initial Plan
Since the video I planned to make was a parody/crossover of an already existing video, I did not create any storyboard. Instead, I referenced three videos on how each shot would appear: one video where the audio was taken from, and the two videos for the release of the official Japanese versions.
From left to right: English cover where the audio was take from, official music video version A, and official music video version B.
I made a list of which segments that I liked from each video and tried to combine animations from all three of them, though in the end, the video I wanted to create would most likely resemble the official music video version A.
Particle Effects
The first goal of this project was to learn how to create and manipulate particle effects in After Effects. Learning the basics from this video, I then recreated the particle effects I saw in the official music video version A using the CC Particle World effect. To make the short, quick "transition" effects, I adjusted the birthrate at which the particles were produced so that in a short span of time, the program would not generate any more particles.

An idle particle effect created to be continuously playing in the background.

A "transition" particle effect when the chorus is played.


Two similar particle effects that would wipe across screen introducing a new character.
Camera Work and Animation
Rather than focusing on finishing the illustrations first, I wanted to focus on learning how to use 3D layers in After Effects. First, I created sketches of all the characters that were to appear and animated the sketches as I would the final illustration. As I wanted to spend the least amount of time fixing the animation once the final illustrations were imported into the video, the sketches I created were fairly clean. A fun trick I learned when drawing characters that have to be the correct height relative to each other was to create a bar graph in Microsoft Excel of different heights to use as reference.
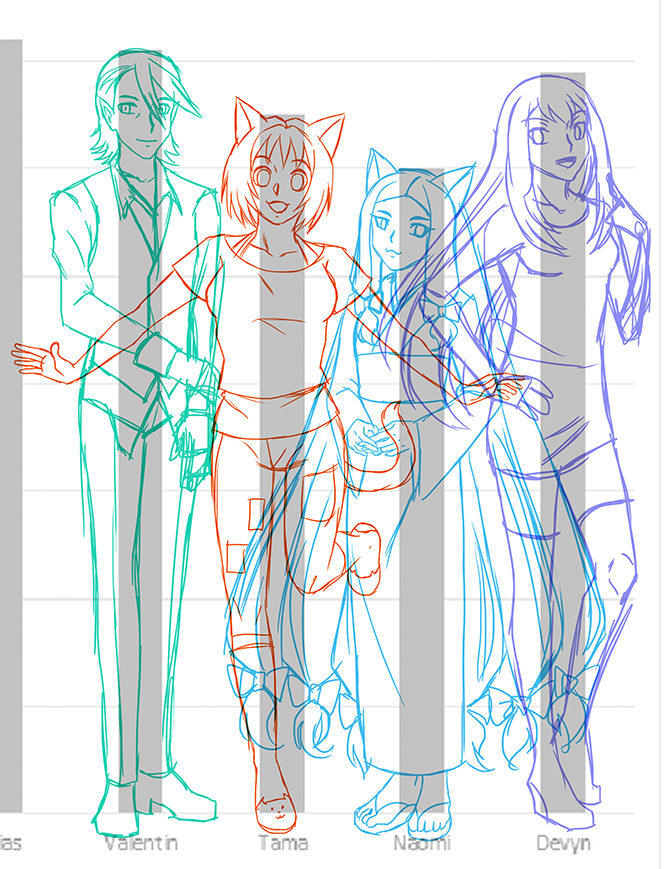
Example of how an Excel bar graph can be used to scale images.
After creating a 3D layer, I would create a new camera and attempt to mimic the same motions as the videos I was referencing. Some part of this were particularly difficult since the camera had a wider lens than the final image size of the video. Through trial and error, I was able to animate the camera to mimic the reference videos, constantly going back and forth from the camera view to the final view.

How using the camera in After Effects looks like.
The image given by the "Camera viewport."
Final image displayed once footage is put into a 1280x720 composition.